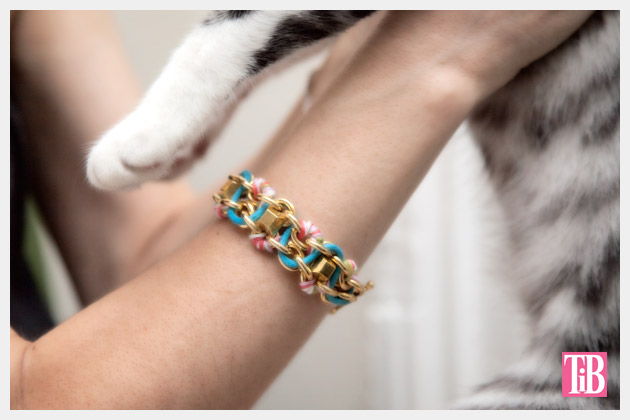
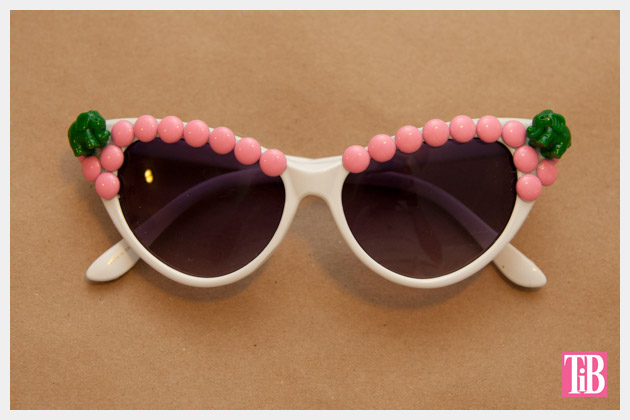
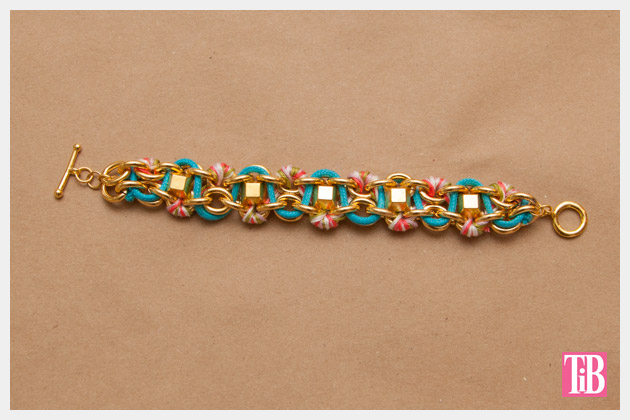
Look how amazing it looks, i really love it.
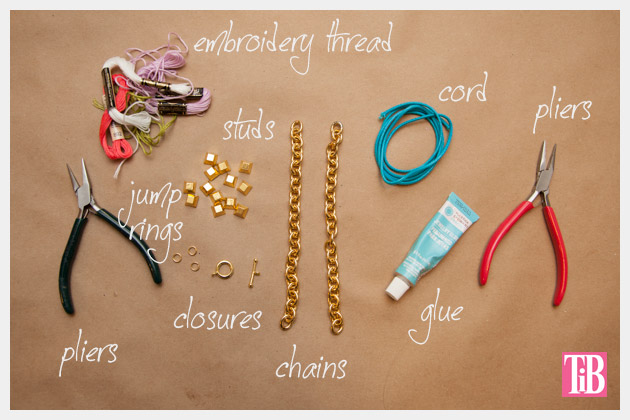
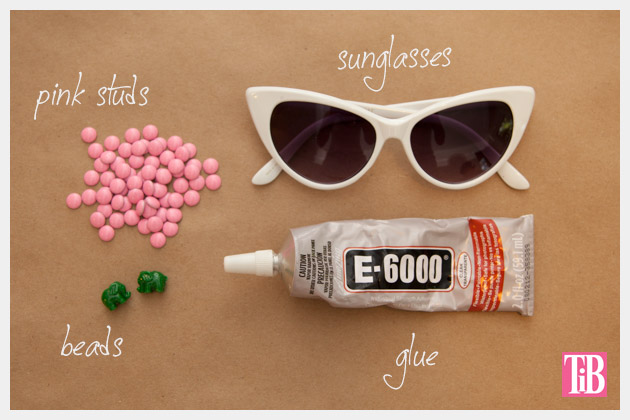
TOOLS & MATERIALS:
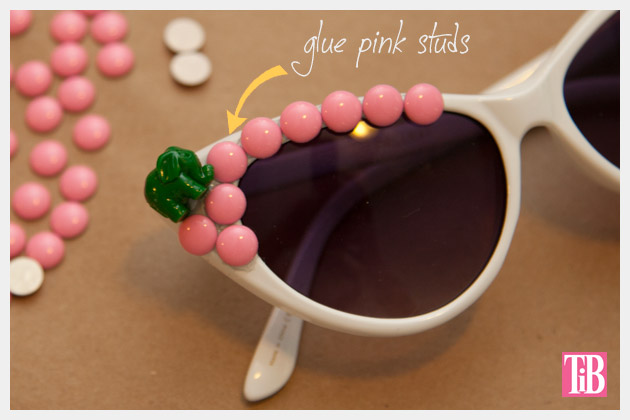
 step 1
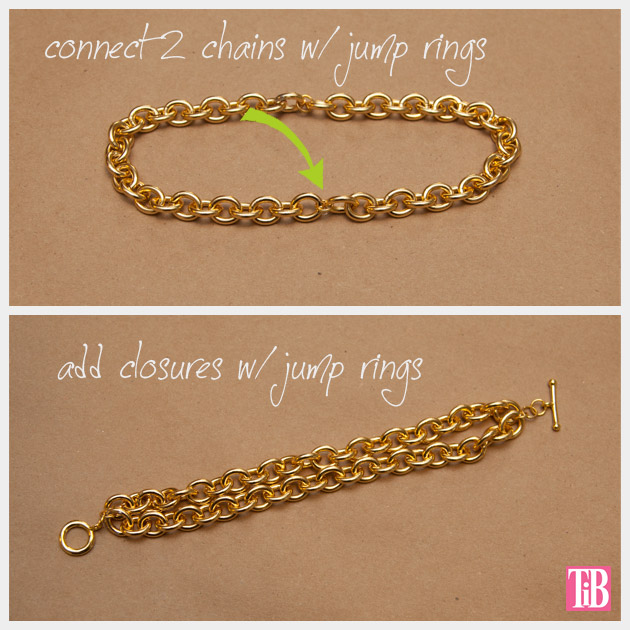
Cut two equal lengths of your heavy gold chain.
They should be just a bit shorter than you want your bracelet to be.
Remember that your closure and jump rings will add length to your bracelet.
step 2
Using your jump rings connect the ends of your chains together. Use one jump ring for each end.
Make sure that your chains are smooth and even.
step 3
Add your closure.
I used one jump ring to add the circle side of my closure and two to add the bar side.
step 4
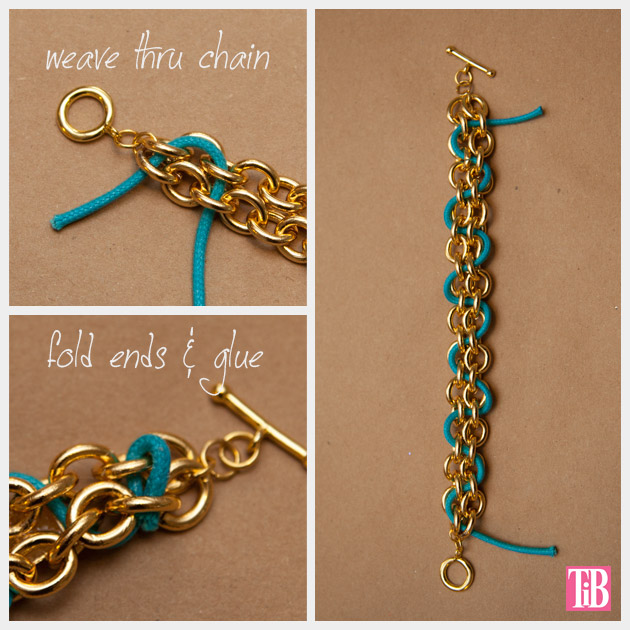
Take your cord and start at one end of your bracelet, weaving it back a forth through both chains.
When you are finished weaving your cord through your chain, trim the ends of your cord and fold them back on themselves through your chain and glue.
Let the glue dry
step 5
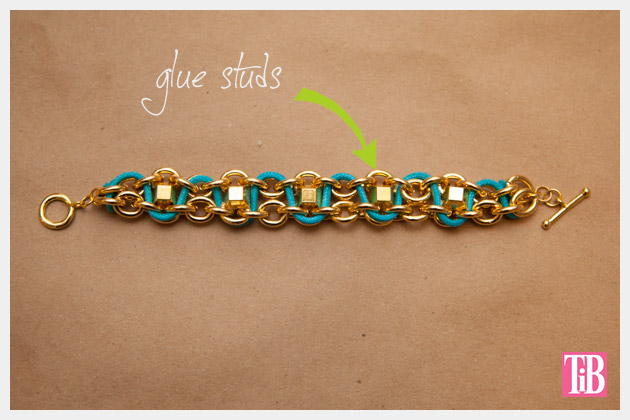
Lay your bracelet out flat and decide where you will place your pyramid studs.
I used 5 studs, spacing them about one inch apart.
When you know where you want to place them glue them to both chains.
Let the glue dry.
step 6
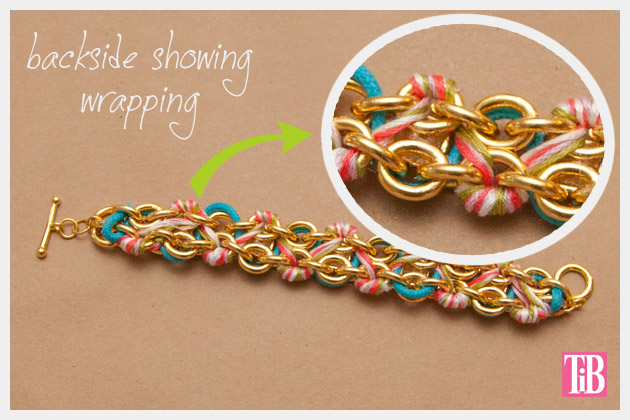
Thread your embroidery floss onto your needle. If you are using multiple colors thread them all together.
Wrap and ‘sew’ your embroidery thread around one link of your chain on the outside of your bracelet.
I recommend wrapping about 3 times, see how it looks. How many times you wrap will depend on how many strands of embroidery floss you are using.
When one chain is wrapped, run your threads across the back of your bracelet to the opposite side and wrap again around one link of your chain.
Continue doing this until you’ve wrapped every other link opposite your cord on your bracelet.
When you are finished wrapping with your embroidery thread, cut your ends leaving about an inch or so and fold them back on themselves like you did your cord and glue them onto themselves.
Other than waiting for glue to dry, this bracelet goes together very quickly. Which is great since I’m all about instant gratification!
The thing I like most about this bracelet is the combination of colors and materials, mixing cords and embroidery floss with chain and pyramid studs. I think it keeps it really fresh and fun!
As with anything you make you can mix up the colors and tailor it to your taste. Use silver instead of gold or whatever your favorite colors are. Have fun!

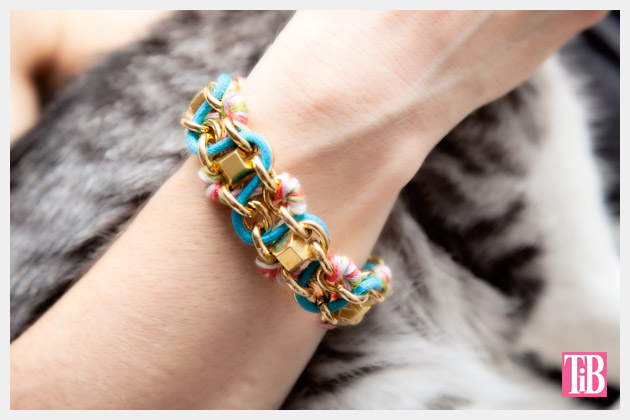 And one more shot (with kitty paws)! Just because!